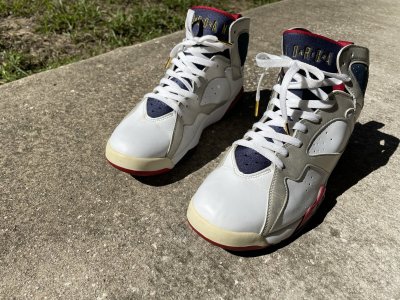
:::OFFICIAL SNEAKER CARE/MAINTENANCE POST::: (It's back!)

The “air” logo peeled of on the off white presto in white; any way to fix this?

E6E89B08-5DB7-40D3-B8A1-1C98E180994D.png
Id just paint it back over using Jacquards Neopaque unless the original print was still on hand in which case id reapply with Barge Super Stik cement. Very fine thin coats followed up with Angelus finisher of choice.
 
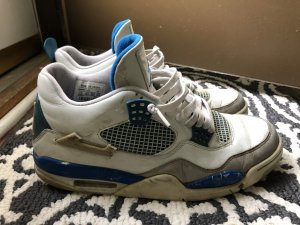
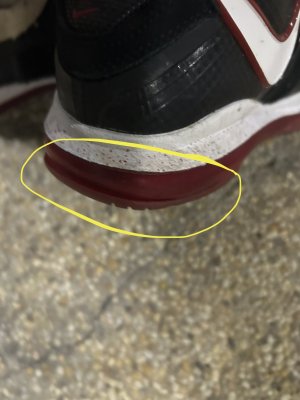
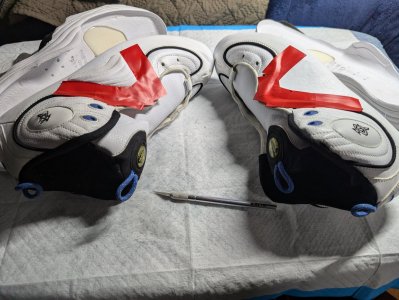
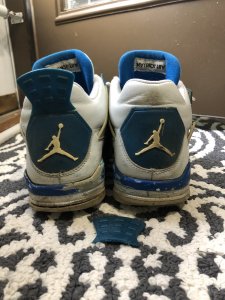
RIP to the heel tab and one wing on my 2006 Military Blue 4’s. Found the heel tab, but not sure what happened to that wing.

These shoes have been through quite a bit. They have a lot of character. 😂😂😂
 

Attachments

  • 9F7A3483-60E9-41E3-BEE8-54DBB7005FDF.jpeg
    9F7A3483-60E9-41E3-BEE8-54DBB7005FDF.jpeg
    297.2 KB · Views: 99
  • 38F568D1-6658-45C7-9C10-48E85CDB5F63.jpeg
    38F568D1-6658-45C7-9C10-48E85CDB5F63.jpeg
    292.3 KB · Views: 117
Last edited:
Good morning!. Could you help me with this?
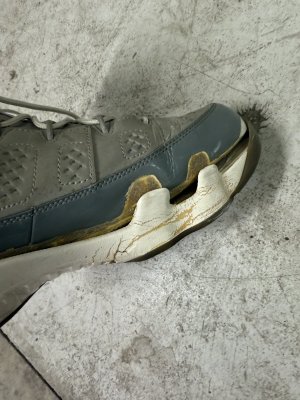
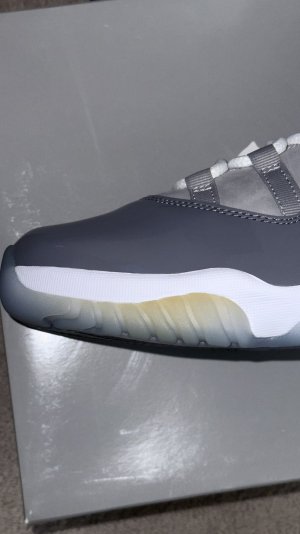
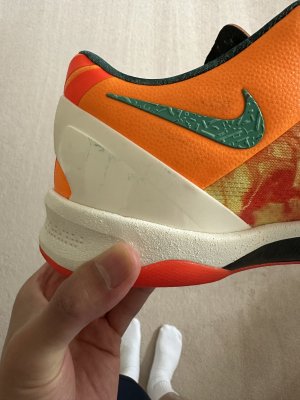
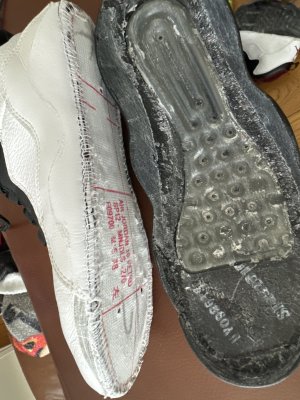
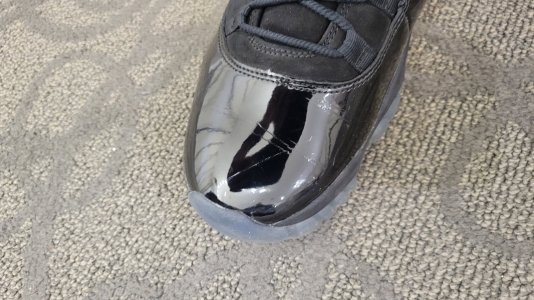
the toe has come off. It is the 2008 Air Jordan Countdown Pack Collezione model. some simple way to permanently it?

thanks

E2F0F7E7-3537-4DA3-9CB1-F9EACCCCEC7C.jpeg
 
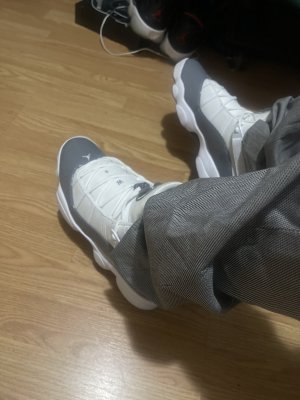
Turned my varsity reds imto work shoes. Any way to clean the mesh tongue? Any info would be appreciated
20200919_152503.jpg
20200919_152522.jpg
20200919_152530.jpg
20200919_152542.jpg
20200919_152553.jpg

Lol i think they still have life on 'em.
 
Last edited:
Good morning!. Could you help me with this?
the toe has come off. It is the 2008 Air Jordan Countdown Pack Collezione model. some simple way to permanently it?

thanks

E2F0F7E7-3537-4DA3-9CB1-F9EACCCCEC7C.jpeg
Fairly easy fix, just get ahold of an adhesive of your choice like Barge Superstik.
Youll want to get something thin enough to get between there to gently break up any left over residue such as an xacto blade.
Dip the pick in alcohol and do multiple gentle runs until the area between the fabric and rubber feels smooth and free of left over adhesive.
Once thats done allow it to dry then once again take the pick and fill the area between with thin layers of adhesive, less is more in these situations.
Once youve layered the adhesive between gently press the rubber to fabric to ensure both sides have been coated then separate and allow to dry for a minimum of 30min to an hour.
After the wait time you should be able to press the rubber to fabric and it not stick, take a heat gun to the area on low setting and make a light pass or two over the area.
One hand in shoe and the other on the outside press the two sides together and hold a minute.
Once released they should hold but in the case say for instance they dont hold and you notice adhesive webbing there may be a chance there was either too much heat or too less adhesive this is where trial and error comes into play and just getting a feel for the process to gauge which of the two was the case.
Never the less break up any webbing allow to dry and then make your adjustments.
Another thing that can happen is parts of it will hold but not necessarily all the way to the edge, in this case simply allow the adhesive to dry and settle then repeat that fill adhesive process, continue these steps until the edging is as flush as desired.

Thank you very much for your help. I hope I can follow your advice well.
 
HomeNt0.png

HomeNt1.png

HomeNt2.png

HomeNt3.png

HomeNt4.png

HomeNt5.png

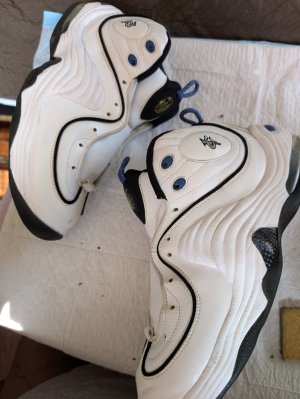
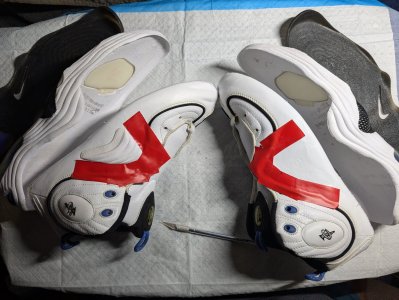
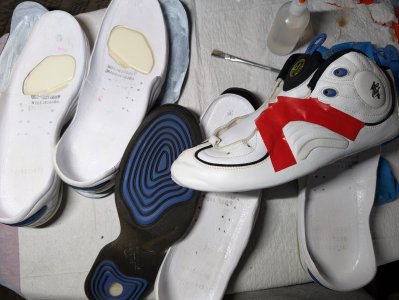
Full strip / rubber restoration / heel cup polish / upper whitening / upper refinish and reassembly. Also redid the tongue tab front midsole and both sheaths since the paint came off.
Also touched up the lace tips and resealed since they turned more bronze than gold.
 
Last edited:
Any tips or advice on how to reattach this peeling size tag? Thanks in advance

D802F987-5F0C-4130-93E7-F7500F6603F8.jpeg
Id probably just alcohol prep then trace the outline both on fabric and tag with some adhesive such as Barge SuperStik. Never personally reaffixed a tag but id likely start there or look for something specifically tailored for fabric adhesion.
 
Ok fam, so I have been keeping my flint 13’s nice and fresh while rocking for the past couple months... until yesterday. I got a big scratch right down the middle of the toebox, like a paint peeling scratch. Any advice on how to remedy this? I’m thinking Angulus acrylic leather paint? White or flat white? Not a clue, this would be my first attempt at “restoring” 😂 . Thanks in advance for any advice
 
Ok fam, so I have been keeping my flint 13’s nice and fresh while rocking for the past couple months... until yesterday. I got a big scratch right down the middle of the toebox, like a paint peeling scratch. Any advice on how to remedy this? I’m thinking Angulus acrylic leather paint? White or flat white? Not a clue, this would be my first attempt at “restoring” 😂 . Thanks in advance for any advice
I know there’s the option to paint white or flat white with duller added or hitting it with krylon matte finish. Not sure what would be better hopefully someone else can help better than I.
 
Ok fam, so I have been keeping my flint 13’s nice and fresh while rocking for the past couple months... until yesterday. I got a big scratch right down the middle of the toebox, like a paint peeling scratch. Any advice on how to remedy this? I’m thinking Angulus acrylic leather paint? White or flat white? Not a clue, this would be my first attempt at “restoring” 😂 . Thanks in advance for any advice
Straight forward fix for the most part. You may have to play around with paints to dial in the color for a perfect match but my suggestion would be to get an assorted pack of sandpaper, usually they have them from like 600 to 2000 grit.
First clean the shoe of any access dirt/dust. Wetsand down the area working from lowest to highest grit until the leather is almost butter smooth just like how we like our leather. Doing so gives the paint a great surface to latch onto.
Once there youll want to paint the area with nice thin coats until its pretty much blended into the untouched surrounding area. Once done hit it with satin finish and allow to sit for 24hrs. Lightly heat gun or blow dry between coats and never apply another until its dry.
After 24hrs massage some leather balm or lotion into the the shoe and if your feeling extra fancy some UV protectant after that.
Youll likely want to also grab some duller but id steer clear of matte as its not as flexible plus your finisher with duller can tame things down a bit as well to reduce gloss
Essential to great results is prep...prep...and prep follwed by nice thin coats of paint nothing heavy. Feel free to drop photos or additional questions here and i should be able to guide you any step of the way.
 
Thank you very much for your help. I hope I can follow your advice well.
If you have Barge Cement these instructions are the same but after you apply the glue you let it dry for 8 minutes and then hold the two places together firmly for another minute and they should be ready in 24-48 hours. It has the instructions on the jar as well. His way can work but this way is quicker and less steps, I have done plenty of attempts with different approaches and this is by far the easiest and it bonds really quickly.
 
Im sure this has been answered before but ive seen conflicting information. What is the best way to clean a Sail midsole on a Jordan 1?

I bought some used obsidians and wanted to clean the midsole when they came in but was wondering if it should be treated differently since its Sail and not pure white.
 
Back
Top Bottom